I love turning small beach treasures into practical objects for the home, and one of my favourite weekend projects is a pebble soap dish. It’s tactile, low-waste and wonderfully forgiving — and the finished piece looks like it belongs in a calm, coastal bathroom. Below I’ll walk you through my preferred method: using beach-collected pebbles arranged on a shallow base and finished with a food-safe sealant so the dish is durable and gentle on soap.
Why I like this version
There are lots of ways to make a pebble soap dish — you can mortar stones together, make a drain-through design, or press pebbles into clay. I use a food-safe epoxy (or food-grade resin) to create a smooth, water-resistant topcoat. The result keeps the pebble texture while preventing soap scum from collecting between stones, and it’s easy to clean. It also means you can use smaller, flatter pebbles and still end up with a stable surface.
Materials and tools
Here’s what I gather before I start. I try to use reclaimed or second-hand tools where possible and always follow local rules when foraging on the shore.
| Materials | Notes |
| Pebbles | Flat, varied sizes, washed |
| Shallow base (ceramic saucer, reclaimed wooden slice, or small metal tray) | Choose something slightly concave to catch water |
| Food-safe epoxy or food-grade resin | Look for products labelled FDA-compliant/food-safe for surface contact |
| Clear silicone adhesive or marine-grade epoxy (optional) | To secure large stones before resin |
| Parchment paper or silicone mat | Work surface |
| Disposable mixing cups and stir sticks | Follow resin instructions exactly |
| Disposable gloves, safety glasses, mask | Resin safety |
| Small torch or heat gun (optional) | To remove bubbles |
| Fine sandpaper (240–400 grit) | For smoothing edges |
| Felt pads | Protect your countertop |
Before you go to the beach
I always check local regulations about collecting pebbles — some beaches protect their material. Take only a few, pick pebbles from the high-tide line rather than dunes, and avoid taking from areas that look ecologically sensitive. A small bag and a keen eye for flat, pebble shapes will serve you well.
Preparing your pebbles
Once home, I follow this routine to make sure the stones are clean and stable:
Choosing the base
I like using a thrifted ceramic saucer or a thin wooden slice. Ceramic is simple: it won’t warp, it’s easy to clean, and the resin adheres well. If you use wood, make sure it’s sealed on the bottom or you risk water damage. The base should be slightly larger than the soap you’ll use.
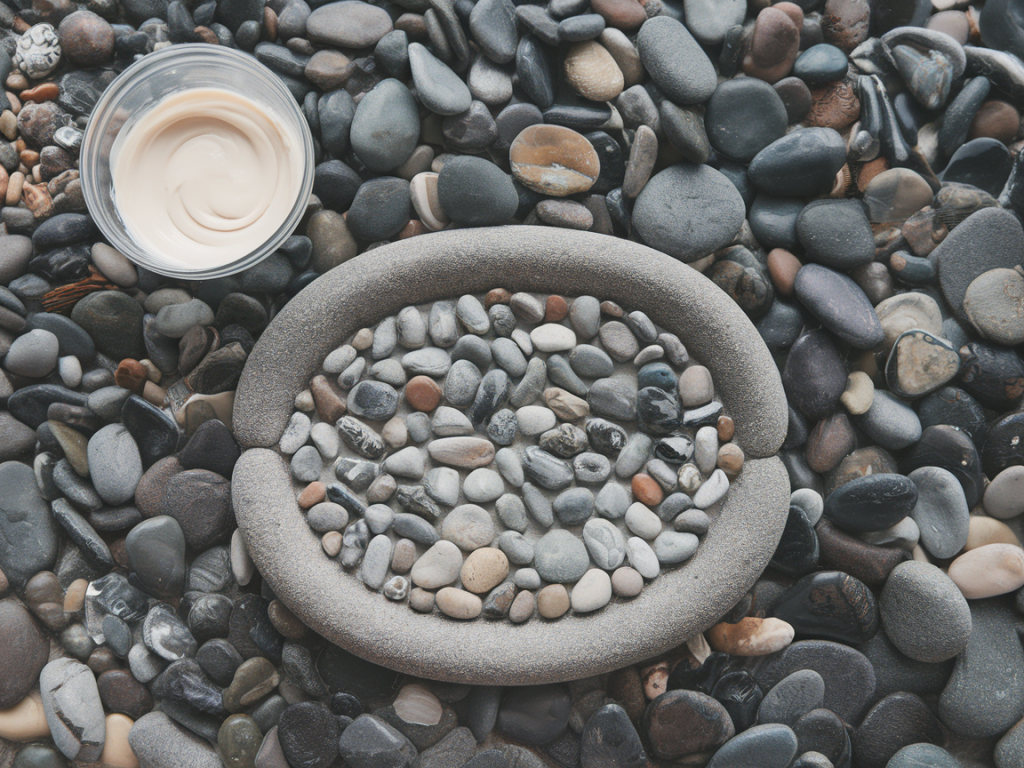
Dry run: arranging your design
Lay out your stones on the base without glue first. I play with colour and shape until the surface looks balanced — smaller stones fill gaps; a few larger focal stones give interest. Take a photo so you can replicate the layout when gluing.
Fixing stones in place
Mixing and applying the food-safe epoxy
Read the resin manufacturer instructions carefully — cure times, mix ratios and safety notes vary. I prefer a slow-cure food-safe epoxy because it reduces bubbles and gives a clearer finish.
Drying, finishing and small details
Leave the piece to cure on a flat, dust-free surface. Curing can take anywhere from 24–72 hours depending on resin. Once fully cured:
Care and safety notes
Variations and ideas
If you’d like to experiment:
It’s a lovely weekend project that celebrates small, natural finds and makes a useful object from things you might otherwise pass by on a walk. If you try this, I’d love to see photos of your process — share them on the Take Root Design contact page or tag the blog on social media. Happy crafting.