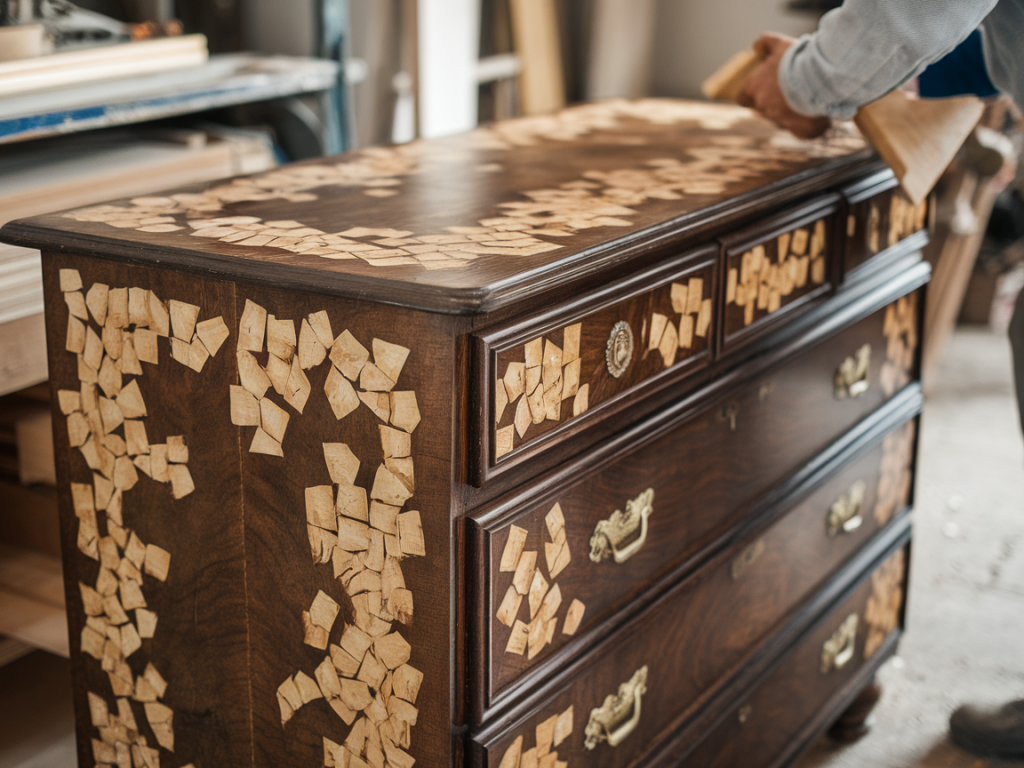
I love working on vintage dressers — their curves, patina, and the little stories the wear marks tell. But those inevitable veneer chips can feel daunting: thin layers, brittle edges, and visible repairs can make a piece look patched rather than cared for. Over the years I’ve developed a gentle, solvent-free approach that keeps things low-tox and beginner-friendly, while giving consistently good results. Below I share a step‑by‑step method I’ve used on thrifted and inherited dressers, perfect for renters or makers who prefer natural materials and simple tools.
Why choose a solvent-free repair?
Traditional veneer repair methods often call for strong adhesives, solvents, or heavy-duty chemicals. I prefer solvent-free techniques for several reasons:
Safer for home use: No strong fumes makes the work pleasant, especially in small spaces.Eco-friendlier: Less chemical waste and more biodegradable options.Gentler on historic surfaces: Solvent-free adhesives and fillers are less likely to dissolve old finishes or cause discoloration.That said, “solvent-free” doesn’t mean less durable — with the right prep and patience, the results are long-lasting.
What you’ll need
Here’s a quick list of materials and tools I keep in my repair kit. I’ll list alternatives where useful.
| Item | Purpose |
| Wood glue (PVA, water-based) | Adhering loose veneer fragments and new patches |
| Hide glue granules or liquid hide glue (optional) | Traditional, reversible option — great for antiques |
| Water-based wood filler / natural putty | Fill small gaps and level surface before finishing |
| Veneer patch material (matching veneer, thin wood, or kraft paper) | Replace missing chip areas |
| Bone folder or plastic scraper | Flatten veneer and smooth glue |
| Clamps, small weights, or waxed paper and masking tape | Hold patches in place while glue cures |
| Sandpaper (220–320 grit) | Feather and smooth repaired areas |
| Natural oil finish, shellac (non-denatured), or water-based varnish | Blend repair into surrounding finish |
| Fine artist brushes, stain pens, or watered-down acrylics | Colour-matching the repair |
Assess the damage
Before anything, take a close look under good light. Is the chip a small flake (less than 1 cm), a larger missing area, or a raised blister? Are there loose edges you can press back? Often a lot of veneer damage is stable and just needs re-adhesion; other times you’ll need to replace a missing piece.
Step-by-step solvent-free repair
I’ll walk you through repairing a typical chipped corner or edge where some veneer is missing and some edges are loose.
Step 1 — Clean and loosen dust: Gently clean the area with a soft brush or cloth. If there’s wax or polish build-up, use a little warm water on a cloth — avoid soaking the wood. This helps glue adhere.Step 2 — Rescue loose fragments: If small flakes are present, keep them. I store them in labelled envelopes to use as inlays. For larger loose edges, gently lift and add a tiny amount of PVA glue underneath, then press down. Use a bone folder or the back of a spoon to smooth.Step 3 — Prepare a patch: For missing bits, I usually cut a patch from matching veneer or from thin wood stripped from the back of a similar piece. If you can’t match the grain, use kraft paper veneer (sanded and stained) — it takes stain well and is remarkably subtle once sealed.Step 4 — Glue the patch: Apply a thin, even layer of water-based PVA or hide glue to both the substrate and the patch. Press the patch into place, smooth with a bone folder, then cover with waxed paper and apply a flat weight or clamp. Hide glue can be reheated and is reversible — I use it on family heirlooms.Step 5 — Fill and feather: Once dry (often a few hours for PVA, quicker for hide glue), sand the edges gently with 220–320 grit to blend. Use a water-based wood filler or a natural putty to fill any tiny gaps. Work in thin layers; overfilling creates more sanding work.Step 6 — Colour match: This is where patience pays off. I mix diluted acrylics or use stain pens to build up tones slowly. Test on a scrap first. Apply thin washes, letting each layer dry. Aim to mimic the translucency of veneer — thin layers are more convincing than a single opaque coat.Step 7 — Seal and blend: Finish with a thin coat of your existing finish type. If the dresser has an oil finish, use a matching natural oil (e.g., Osmo TopOil or tung oil). For shellac finishes, use a French polish or thin shellac — be cautious: alcohol-based shellac can lift old finishes, so use minimal amounts. A water-based varnish is the easiest for modern pieces. Apply thin coats and scuff-sand between them if needed.Step 8 — Final ageing (optional): If the repaired spot looks too new, give it a touch of gentle aging: a very diluted wash of brown acrylic or a soft wax rubbed over will help it sit within the surrounding patina.Tips I’ve learned the hard way
Go slow: Thin layers and patience beat heavy-handed repairs.Keep the repair reversible if possible: Use hide glue or PVA that can be softened with warm, soapy water — helpful if you ever want to re-treat the piece.Match texture, not just colour: Veneer often has a sheen. After colour-matching, mimic the finish sheen with the same topcoat used on the dresser.Test on inconspicuous spots: Always check stains and finishes in a hidden area first.Embrace the imperfections: A perfectly invisible repair isn’t always necessary. A well-done, honest repair that respects the piece’s age often looks more authentic than an over-restored surface.When to call a professional
If the veneer covers veneered marquetry or complex inlays, or the substrate (plywood or particleboard) is severely delaminated, a conservator or experienced furniture restorer is the best call. For structural issues—loose joints, missing supporting substrate—seek professional help to avoid further damage.
I hope this solvent-free method encourages you to try repairing that vintage dresser instead of replacing it. In my experience, the combination of simple tools, natural glues, and careful colour-matching gives charming, durable results that keep more pieces in use — and out of landfill. If you try this technique, I’d love to see before-and-after photos — share them via the contact page on takerootdesign.co.uk or tag @takerootdesign on social — little victories like these make me very happy.