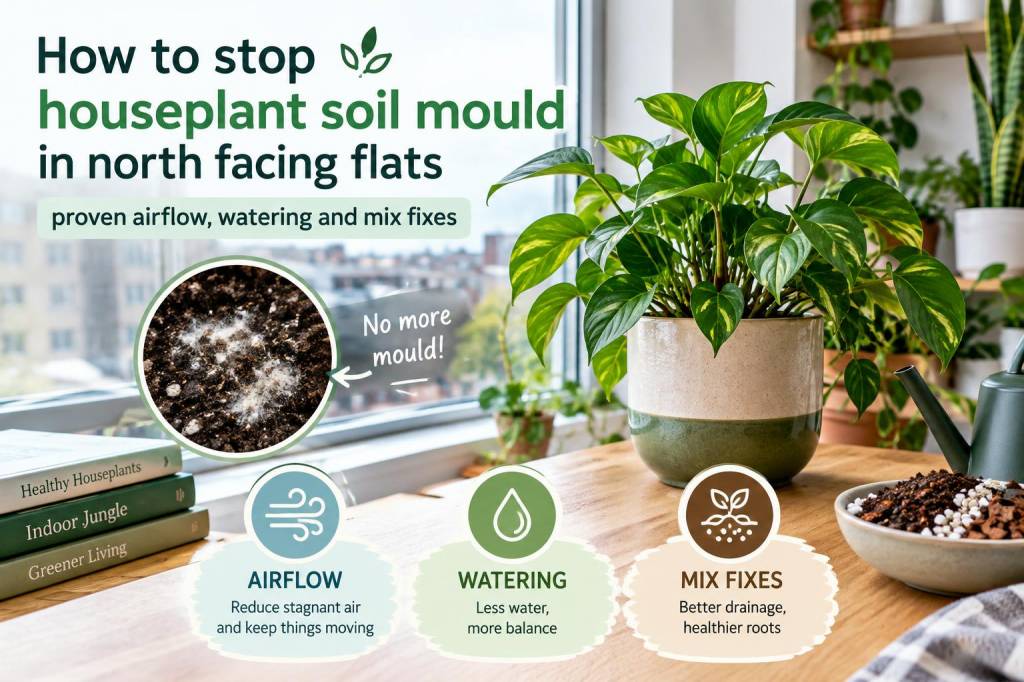
Living in a north-facing flat has taught me to get creative with light, heat and — perhaps unexpectedly — mould. If you’ve ever lifted a pot to find a white, fluffy or grey film on the soil surface, you’re not alone. In my cooler, damper rooms mould shows up more readily, but the good news is that with a few simple changes to airflow, watering habits and potting mixes, you can stop it at the roots and keep your houseplants happy and healthy.
Below I share the practical, low-waste approaches I use at home (and in workshops) to tackle soil mould sustainably. These are techniques I’ve tested on thrifted pots, rescued plants and chilly north-facing windowsills — nothing fussy, just sensible fixes that work for renters and homeowners alike.
Why does soil mould appear in north-facing flats?
North-facing rooms tend to be cooler and receive less direct sunlight. That combination creates a perfect environment for mould to thrive: moist, shaded soil that takes longer to dry. Add in occasional overwatering, poor drainage, compacted potting mix or lack of airflow around the pot, and mould can establish itself quickly.
Mould on potting soil is usually saprophytic fungi — it feeds on organic matter in the compost rather than the plant itself — but it’s still a warning sign. It means conditions are right for fungal growth and, left unchecked, could invite root rot or other problems.
Simple airflow fixes that make a big difference
Air movement is often the missing piece in flat-bound plant care. I don’t mean blasting plants with wind, just gently reducing stagnant humidity around pots.
One thing I love to do is rotate pots every few weeks so every side gets some light and air exposure — small actions like that prevent constant damp pockets where mould loves to grow.
Watering habits: less is more (and timing matters)
Changing how and when you water is the quickest route to improvement. In a north-facing flat I water less frequently and check the soil first. I use a wooden skewer or my finger to test moisture — if the top 2–3cm are slightly dry, I wait.
If you’re nervous about underwatering, try bottom-watering for a few cycles: set the pot in a tray of water for 10–20 minutes and let the soil wick up what it needs, then remove and drain. That reduces the chance of surface moisture lingering and feeding mould.
Fix the mix: drainage, texture and amendments
In my experience the quickest long-term fix is changing or amending the potting mix. Many shop mixes hold more water than houseplants in low-light conditions need, so adding drainage and aeration components helps enormously.
| Problem | Quick fix | Preferable long-term solution |
|---|---|---|
| Heavy, compacted soil | Top-dress with grit or coarse sand | Repot into mix with added perlite/pumice and bark |
| Poor drainage in pot | Add a layer of terracotta shards or clay pebbles at base | Use a pot with drainage hole; choose breathable terracotta |
| Organic matter encourages mould | Remove top 1–2cm of surface soil and replace | Repot using a fresher mix and mix-in horticultural grit |
Here are two mixes I use depending on plant type:
I favour pumice over perlite when I can find it (better long-term structure), and buy horticultural grit or builders’ sand from local garden centres. For an eco twist, I reuse washed, crushed pottery shards from broken thrifted pots as drainage grit.
Surface treatments and natural fungicides
If mould has already appeared, these gentle treatments help without resorting to harsh chemicals.
For persistent problems, a targeted copper-based fungicide can help, but I only recommend this as a last resort and used sparingly, following product instructions. Brands like Bayer Garden or Vitax produce horticultural fungicides available at garden centres if needed.
Pot choice and placement — small tweaks, big impact
Choosing the right pot matters. Unglazed terracotta breathes and helps soil dry, while glazed ceramic and plastic retain moisture. If you love a specific glazed pot, place the plant in a breathable inner pot and use the glazed one as a decorative cachepot — that’s what I do with many thrifted finds.
Placing hygroscopic materials nearby (untreated wood, baskets) can help moderate humidity around plants, but avoid plastics that trap moisture.
Prevention and routine
Prevention is easier than cure. My weekly routine in a north-facing flat includes quick checks for surface moisture, rotating pots, and removing dead leaves. Once a month I lift pots to check for drainage issues and when I repot I refresh the mix rather than topping up endlessly with compost.
With a little patience and these low-waste habits — better airflow, smarter watering and a more open, gritty mix — you can keep the white fluff at bay and your north-facing plants thriving. If you want, tell me what plants you’re struggling with and where they’re placed; I’m happy to suggest a tailored mix and a watering schedule that fits your flat.