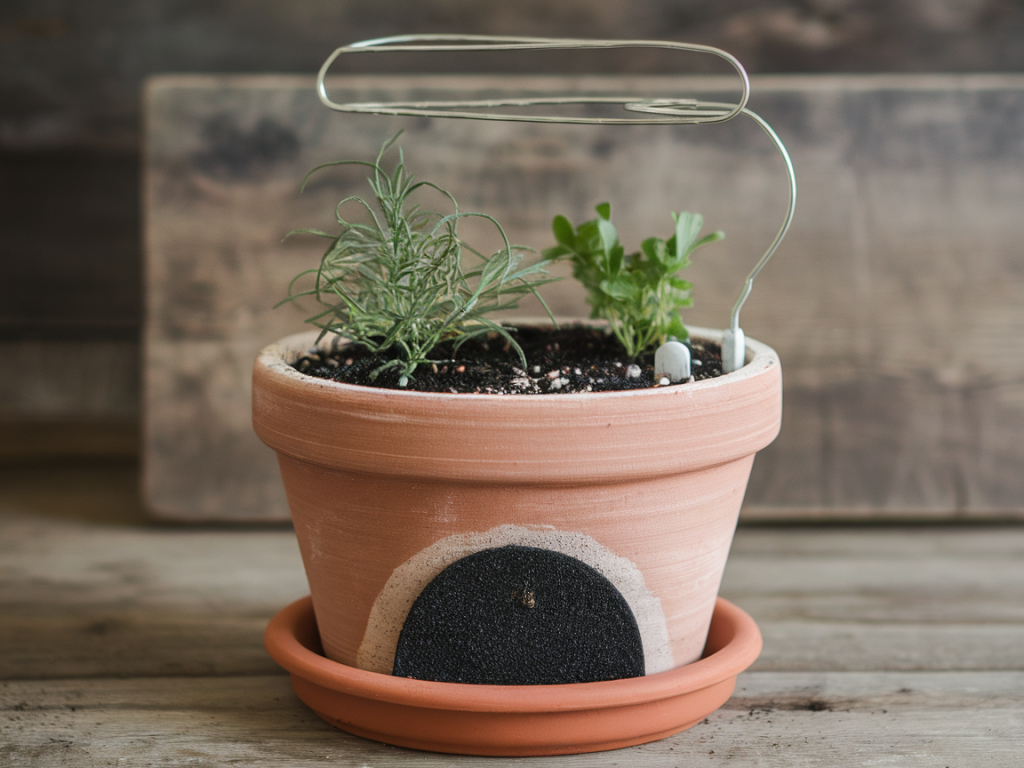
I love small, reliable projects that make daily life a little easier and a home a little greener. This slow-release indoor herb planter is one of those projects: simple materials, a forgiving irrigation system, and a natural look that fits effortlessly on a sunny windowsill or kitchen counter. I tested a few variations in my own flat (because I’m the sort of person who waters basil every few days like clockwork) and landed on a design that keeps herbs happy for 1–2 weeks without fuss. It uses terracotta, a layer of activated charcoal for cleaner root health, and a cotton wick that slowly draws water from a reservoir into the soil.
Why this design works
There are three things I look for when I make a planter for herbs: breathability, cleanliness, and slow, consistent moisture. Terracotta gives breathability and a lovely, warm aesthetic. Activated charcoal (horticultural charcoal) helps filter impurities and reduces odors and root diseases — it’s the same idea used in terrarium and orchid mixes. The wick irrigation system prevents overwatering by delivering water as the soil needs it, rather than flooding the roots all at once.
Materials and tools
- Terracotta inner pot (with drainage hole) and a matching outer pot or base to act as the water reservoir
- Horticultural activated charcoal (available from garden centres or brands like Vitax or Westland)
- Cotton wick or braided cotton rope (6–8 mm thickness works well)
- Potting mix suitable for herbs (light, well-draining)
- Small pebbles or broken terracotta shards (optional)
- Scissors, funnel or a chopstick, and a drill with ceramic bit if you need to make or enlarge a hole
- Kitchen towel or paper for cleanup
Step-by-step build
I like to keep this process relaxed — no special skills required.
- Check your pots: The inner terracotta pot should have a drainage hole. If it doesn’t, you can carefully drill one with a ceramic bit, taking your time and using water to cool the bit. The outer pot becomes the reservoir.
- Add a pebble layer (optional): Place a thin layer of pebbles or broken terracotta at the bottom of the inner pot to keep soil from clogging the wick and drainage hole.
- Charcoal layer: Add a 1–2 cm layer of activated charcoal on top of the pebbles. This helps keep the reservoir and root zone fresher and reduces the risk of root rot. I use horticultural charcoal rather than barbecue charcoal because it’s cleaned and sized for plants.
- Thread the wick: Thread one end of your cotton wick through the drainage hole so it reaches into the inner pot, and the other end hangs into the outer pot’s reservoir. If the inner pot has no hole at the right height, you can create a small notch in the pot’s lip or feed the wick from the top through the soil down toward the drainage hole — either will work.
- Add soil and plant: Fill the inner pot with potting mix, leaving enough room to plant your herbs. Firm the soil gently, plant your herbs, and water lightly to settle them.
- Fill the reservoir: Add water to the outer pot until the wick end is submerged. The cotton will start drawing water into the soil immediately. Keep an eye on the first 24 hours to ensure even wetting.
Which herbs are best
Not all herbs have the same water needs. I recommend starting with herbs that tolerate consistent, gentle moisture:
- Basil — loves steady warmth and moisture
- Parsley — prefers regular moisture
- Cilantro (coriander) — benefits from a consistent water supply
- Chives — hardy and forgiving
For drier herbs like rosemary or thyme, reduce reservoir contact and use a thinner wick or shorter wick exposure, or simply use the system as a backup rather than the primary water source.
Troubleshooting and tips
- Wick not working: Ensure the wick is fully saturated and has a continuous path from the reservoir to the soil. Cotton wicks can be primed by soaking them before assembly.
- Soil staying too wet: Use coarser, well-draining potting mix or add perlite. You can also fold back the wick so less of it sits in the soil, reducing water uptake.
- Algae or smell in reservoir: Clean and replace the water every 1–2 weeks. The charcoal layer and clean water help, but reservoirs still benefit from periodic rinsing.
- Roots reaching reservoir: Use a finer pebble barrier or slightly increase the charcoal layer to discourage roots from growing through the hole. If roots do reach the reservoir, trim them carefully and refresh the soil if needed.
Care schedule
I like simple routines. This table is a guide based on typical indoor conditions (20–22°C, moderate light).
| Action | Frequency |
|---|---|
| Top up reservoir | Every 5–10 days (depends on pot size and season) |
| Check soil moisture | Every 2–3 days initially, then weekly once system is established |
| Clean reservoir and change water | Every 1–2 weeks |
| Fertilise (liquid, diluted) | Every 4–6 weeks during growing season |
Sourcing and sustainable swaps
I try to use locally available and eco-friendly materials whenever possible. Terracotta is widely sold at independent garden centres and chains like B&Q or Homebase here in the UK. For activated charcoal, look for horticultural charcoal rather than lumpwood barbecue charcoal — suppliers like Levington, Westland, or independent allotment stores often stock it. Cotton wicks can be bought as braided cotton rope, or you can reuse old natural fibre fabric strips.
Personal notes from my tests
In my kitchen, a 12 cm terracotta pot with a 250–300 ml reservoir kept basil and parsley happily producing for about 10 days between refills. I noticed the activated charcoal made the reservoir water clearer longer and seemed to reduce the small, sour smell you sometimes get from stagnant water. I also liked how the terracotta warmed the soil on sunny mornings — herbs perked up noticeably after a few hours of sun.
If you’d like, I can make a printable checklist or a materials shopping list you can save when you do this project. Or tell me what herbs you want to grow and I’ll suggest the ideal pot size and wick thickness for your setup.