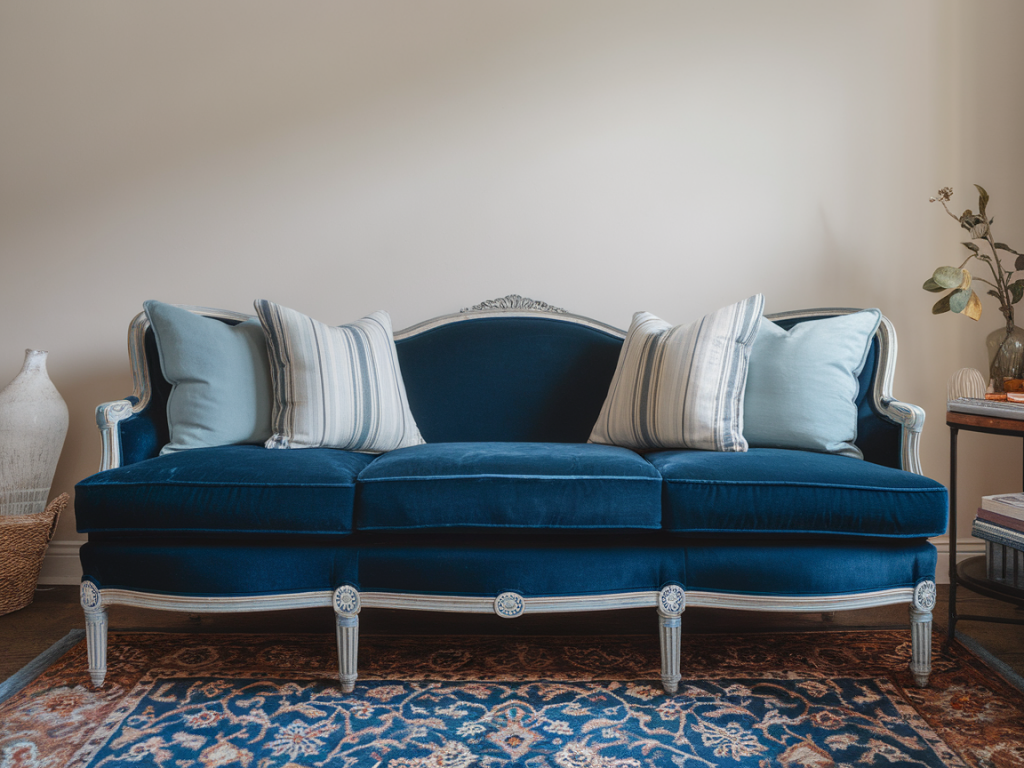
I found my velvet sofa at a carboot sale on a rainy Saturday — a deep, slightly crushed green that had clearly loved several lives. The frame was solid, the cushions still plump, but the upholstery had a few faded patches and the wooden legs were scratched. I wanted to give it a new life without stripping it back to bare wood or spending a fortune on reupholstery. After some experimenting, I settled on a gentle, low-waste makeover using milk paint for the wooden legs and a natural wax finish to protect them. It’s a method that keeps the sofa’s character intact while making it feel fresh and intentional.
Why milk paint and natural wax?
Milk paint is an excellent choice for vintage or thrifted furniture because it layers beautifully, wears in a natural, breathable way, and is low-tox. Brands I like are Miss Mustard Seed’s Milk Paint and Fiddlehead (UK alternatives include Earthborn Claypaint which behaves similarly). It adheres well to older finishes when used with a bonding agent (or primer) and gives a soft, matte look that complements velvet upholstery.
Natural wax — such as beeswax blended with plant oils, or commercial options like Fiddes Hard Wax Oil or Osmo TopOil — seals the paint, gives a slight sheen, and provides durable protection against scuffs. The combo of milk paint plus wax is forgiving: it shows wear attractively and can be refreshed locally rather than needing heavy sanding and refinishing.
What I used
| Item | Notes / alternatives |
| Milk paint powder | Miss Mustard Seed’s or Earthborn Claypaint (mixed to manufacturer instructions) |
| Bonding agent / primer | Miss Mustard Seed’s Milk Paint bonding agent or Zinsser BIN for tricky finishes |
| Natural wax | Fiddes Beeswax & Orange Oil, Osmo TopOil, or homemade beeswax + olive oil mix |
| Fine sandpaper (220–320) | For smoothing between coats and distressing |
| Soft cloths & foam brushes | Lint-free cotton for waxing |
| Painter’s tape | To protect upholstery |
| Small brushes & toothbrush | For detailing crevices |
Preparation — the part I never skip
I always start by moving the sofa into good light. This helps me see stains, previous repairs, or any structural issues. Check the frame stability: tighten any loose bolts and give the cushions a poke — sometimes the foam is compacted and benefits from a quick re-fluff or thin layer of batting.
Next, I protected the velvet. Milk paint will stick to fabric, so I masked carefully with painter’s tape and used folded clean cotton to gently press tape along curved edges. Use minimal tape angle to avoid leaving adhesive on delicate velvet — if in doubt, test a small hidden area first.
If the legs have old varnish or loose flaking paint, a light sand with 120–150 grit removes the worst without stripping the character. For factory-finished woods that are hard to adhere to, apply a thin coat of bonding agent or a shellac-based primer (Zinsser BIN is a go-to). I prefer the milk paint bonding agent for a more breathable finish.
Painting — slow and steady wins the race
Mix your milk paint just before use. I aim for a smooth, enamel-like consistency — not too thin, not gloopy. I usually apply two thin coats rather than one thick one. Use a small brush for turned legs and a foam brush for flat surfaces. Let each coat dry fully (milk paint dries quickly but give it 2–4 hours depending on humidity).
If you love a slightly worn, layered look, consider adding a second colour underneath and distressing edges after the top coat. I once painted legs a warm terracotta as the base, then a soft chalky white on top; after a gentle sand, the terracotta peeked through and felt very lived-in, like the sofa had always belonged in my home.
Distressing and texture
One of milk paint’s strengths is how it ages. For a subtle vintage effect, sand edges lightly with 220–320 grit paper once the paint is fully cured (24 hours +). Focus on places that would naturally take wear — arm corners, leg edges, and the areas near feet. Use a small screwdriver or chain to add tiny dings if you want a more authentic patina, but go easy — it’s easy to go too far.
Waxing — how I seal and protect
Once I’m happy with the paint and it’s cured (I usually wait 24–48 hours for a robust finish), I apply natural wax. I warm a small amount between my palms or gently with a hairdryer so it spreads nicer. Use circular motions with a lint-free cloth, working the wax into the wood until it feels satin-smooth. Wipe off excess after 10–20 minutes and buff with a clean cloth.
The benefits: wax enhances colour, fills tiny pores, and offers a comfy sheen that feels tactile. If you prefer more hardwearing protection (e.g., if the legs will be knocked frequently), consider a thin coat of hard wax oil like Osmo TopOil, which cures harder than traditional wax while still being natural-oil based.
Styling the finished sofa
After the makeover, I move the sofa back into place and style it with layered textures: a knitted throw, a linen cushion, and a vintage scarf draped casually over the arm. Velvet sits beautifully against tactile neutrals and natural materials — jute rugs, wooden side tables, and houseplants help the sofa feel rooted and approachable rather than too precious.
Troubleshooting — common questions
- Will milk paint rub off on fabric? If you’ve masked well and let the paint fully cure, no — but always be cautious with fresh paint near upholstery. Use painter’s tape and a cloth barrier.
- What if the paint chips? Small chips can be repaired by touching up with the same milk paint and re-waxing. For larger issues, sand back the area and repaint. Milk paint’s repairability is a big plus.
- Can I use milk paint directly on varnished wood? Sometimes, but it’s best to use a bonding agent or primer for guaranteed adhesion.
- Is wax durable enough for legs? For most domestic use, yes. If the family’s very active or pets are involved, choose a hard wax oil for extra resilience.
Final practical tips from my tests
- Always test on a hidden area first — every piece of furniture has its quirks.
- Work in thin coats and let them cure fully; impatience leads to tacky finishes.
- Keep your workspace ventilated and use natural, low-VOC products when possible.
- Embrace imperfection — a little wear gives thrifted pieces soul.
If you’re planning a similar project and want advice about colour pairings, product choices in the UK, or masking delicate upholstery, I’m happy to help — tell me about the piece and I can suggest a simple plan tailored to your space and skill level.