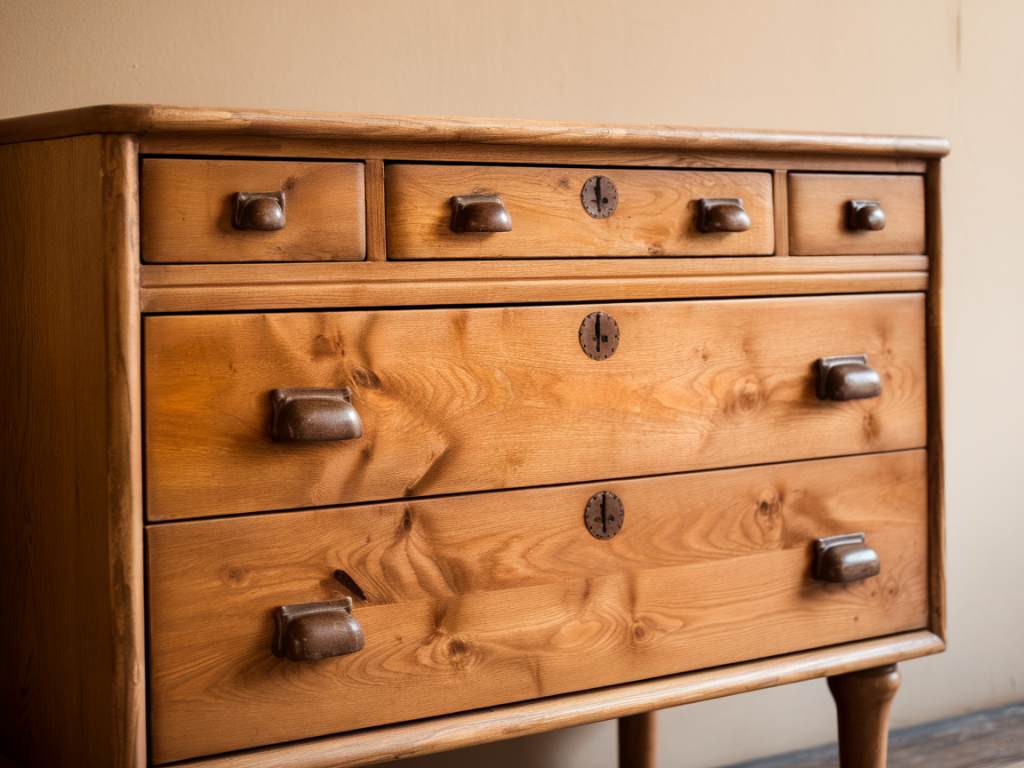
I found this little oak dresser at a charity shop on a rainy Saturday — slightly wobbly, surface scratched, and covered in a dated glossy finish. I loved its proportions and solid joinery, and I could already see it fitting into a calm, textured corner of my home. Refinishing a thrifted oak dresser with a low-VOC stain and a beeswax topcoat is one of my favourite ways to give furniture new life: it's affordable, kinder to indoor air, and makes a durable, wearable finish that ages beautifully.
Why I choose low-VOC stain and beeswax
Traditional solvent-based stains and varnishes can smell strong and off-gas for weeks. I prefer low-VOC oil or water-based stains because they reduce indoor pollution and are gentler during application. Beeswax as a topcoat offers a soft, tactile finish that highlights the wood grain and can be repaired at home with a little buffing — perfect for a piece that will be used and loved.
What you’ll need
Below is a compact list of everything I use for a typical dresser refinish. Brands I recommend (if you like a shortcut) include Osmo TopOil for low-VOC oil options, Zinsser Bulls Eye water-based stain for good colour options, and Fleur de Nature or local raw beeswax mixed with a small amount of jojoba oil for the finish. But many independent natural finish brands work equally well.
| Item | Purpose |
|---|---|
| Orbital sander or sanding block (120, 180, 220 grit) | Remove finish and smooth wood |
| Low-VOC stain (oil or water-based) | Tint and bring out grain — choose light to medium tones for oak |
| Beeswax paste or beeswax + carrier oil | Topcoat for warmth and durability |
| Clean lint-free cloths, tack cloth | Wipe dust and apply products |
| Mineral spirits (if using oil stain) or water for water-based | Clean-up and thinning |
| Small brushes or foam applicators | Even application of stain and wax |
| Masking tape, gloves, drop cloth | Protect hardware and work area |
Preparing the dresser
I always start by removing the drawers and hardware. Label each drawer so you don’t mix them up — it sounds obvious but it's saved me headaches after a long day of sanding. Set knobs and handles in a small container so they don’t get lost.
Next, I assess the existing finish. If the dresser has a thick lacquer or varnish, it may need more aggressive sanding to remove the top layer. If the finish is thin or well-attached, a thorough sanding to dull the surface is often enough for good adhesion of the stain. I work outdoors or in a well-ventilated garage and use a dust mask — sanding oak creates a lot of fine dust.
Sanding — the step that makes the difference
Start with 120 grit to remove old varnish and even out scratches. Work with the grain and avoid staying in one spot too long on veneer pieces. Switch to 180 grit to refine the surface and finish with 220 grit for a smooth, receptive surface. Between each grit, wipe down with a tack cloth or slightly damp lint-free cloth to remove dust — oak can hide dust in pores that show after staining.
Staining: tips for an even, natural look
Oak loves to show grain and accepts stain well. I test the stain on an offcut or an inside drawer face to check the colour. If you want a vintage look, choose a slightly warm medium tone — not too dark — that lets the grain read. Low-VOC oil stains penetrate nicely and sit well under beeswax; water-based stains dry faster and have less odor, but often raise the grain slightly (a light re-sand with 220 afterward solves that).
Apply stain with a foam applicator or lint-free cloth, working with the grain. Wipe off excess within a few minutes for a lighter effect. For depth, you can do a second, very light coat after the first has dried according to the product instructions. Always follow manufacturer drying times — low-VOC products sometimes take a little longer.
Applying beeswax for a durable vintage finish
Once the stain is fully dry, it’s time for beeswax. I prefer a soft beeswax paste because it’s easier to buff into the wood. If you have raw beeswax blocks, melt a small amount and mix with a carrier oil (jojoba or tung oil are good — tung dries harder). The paste should be soft, not greasy.
Apply a thin, even layer with a soft cloth or a natural-bristle brush, again working with the grain. Allow the wax to sit for 10–20 minutes, then buff energetically with a clean cloth or a white nylon pad until the surface glows. The buffing generates heat and helps the wax sink into pores. For heavily used surfaces (like a top used as a dressing table), apply two thin coats spaced 24 hours apart.
Hardware and styling details
I often clean and reuse original brass or porcelain knobs — gentle polishing with white vinegar and baking soda or a commercial brass cleaner usually brings them back without harsh abrasives. If you prefer a more cohesive look, spray paint (outdoors, low-VOC paint) or replace hardware with simple shapes in matte black or aged brass to complement the vintage finish.
Maintenance and living with the finish
- Dust with a soft cloth and re-buff wax as needed — beeswax finishes are wonderfully repairable with a light coat and buff.
- For spills, dab immediately with a damp cloth; avoid harsh cleaners.
- Every 6–12 months, depending on use, refresh with a thin wax coat to maintain the depth and water resistance.
Troubleshooting common issues
If the stain looks blotchy: oak is open-grained and may accept stain unevenly. A sanding sealer or an even pre-stain conditioner can help next time. For an immediate fix, a second light coat rubbed in with a cloth can often even out the tone.
If the wax feels sticky: too much wax or insufficient buffing can leave a tacky surface. Remove excess with a soft cloth and mineral spirits if needed, then reapply a thinner layer and buff well.
My favourite small touches
To make the dresser feel truly like it belongs in a home, I style it with a simple linen runner, a small stack of well-loved books, and a vase of foraged stems. A single ceramic tray for jewellery keeps the top usable without clutter. The beeswax finish softens reflections and gives a lived-in, gentle vintage vibe that pairs well with textured linens and houseplants.
If you'd like, I can share a short checklist you can print and take to a charity shop or market — it lists the quick questions I ask before buying (joinery, wobble, veneer condition) so you only bring home pieces worth the effort. Just say the word and I’ll write it up.