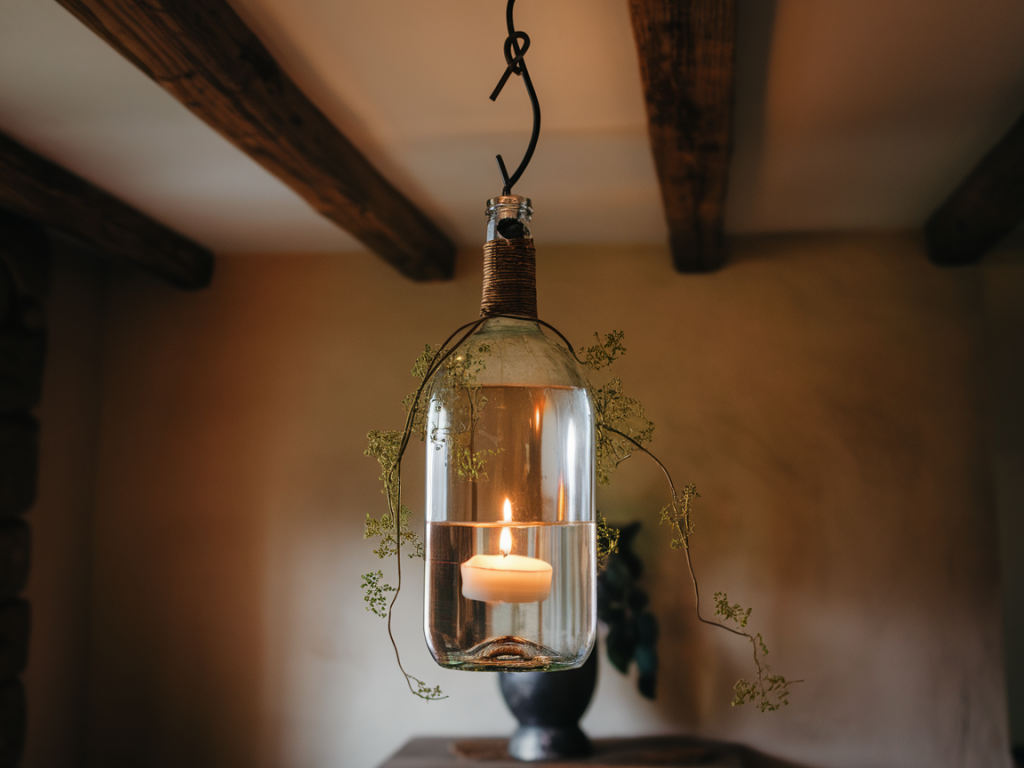
I love projects that take something ordinary and quiet — like a wine bottle tucked on the recycling shelf — and turn it into an object that brings light and personality into a room. This glass bottle pendant light is one of my favourite quick upcycles: you need just one drill, a piece of plant wire (or copper wire), and a little patience. It’s affordable, low-waste, and makes a wonderfully warm, imperfectly handmade light for a kitchen island, over a side table, or in a little reading nook.
Why I love this project
There’s something so satisfying about turning a bottle into a lampshade. The glass refracts the bulb’s glow in soft, cosy ways, and the neck of the bottle gives you a natural place to thread a cord. Using a single, well-sharpened drill bit and some plant wire keeps the process simple and accessible for a lot of people — no need for specialised glass studios.
What you’ll need
Gathering everything first makes this project smooth and enjoyable. I try to source materials locally and reuse what I can.
Safety first
Glass dust and shards can be hazardous. Always wear safety goggles and gloves, and work in a well-ventilated area. I recommend doing the drilling outdoors or over a surface that’s easy to clean. If you’re not comfortable working near mains electrics, have a qualified electrician install the ceiling connection and test the fitting.
Preparing the bottle
Remove labels and glue residue, then clean thoroughly. To make drilling easier and to prevent slipping, I stick a small square of masking tape on the spot where I’ll drill. Decide whether you want the light to hang with the bottle’s base up (inverted) or with the neck up. For threading a pendant cord through the neck, you don’t need to cut the base; you’ll make a hole in the side or base for the cord and use the neck as a decorative collar.
How to drill glass with one drill
This method uses a single drill and steady pressure, plus lubrication and support to protect the bottle.
Using plant wire as a support and aesthetic detail
Plant wire is fantastic here: it’s flexible, weather-resistant, and has a soft, utilitarian look that pairs beautifully with glass and brass. Cut a length long enough to wrap around the bottle’s neck and form a hanging loop. I like to shape a simple spiral or hanger that both supports the bottle and adds visual interest.
Wiring and fitting the bulb
If you’ve bought a pendant light kit, the socket usually screws together around the cord. Thread the cord through the socket, connect as instructed, and screw the socket closed. Use low-heat LED bulbs — they’re energy-efficient and produce minimal heat, important when a bulb sits within glass.
If you’re unsure about connecting to mains, stop here and take the pendant to an electrician for final installation. I always do the final ceiling connection professionally, especially for multi-pendant setups over worktops or islands.
Styling tips
These pendants look lovely grouped in threes over an island or hung singly beside a bed for reading light. Try mixing clear bottles with green or amber glass for a vintage, apothecary feel. For a softer glow, use frosted LED bulbs or spray a light, even coat of frosted glass spray inside the bottle (test first — you want it thin so the texture remains). Add a short taper of dried flowers threaded into the neck for a rustic seasonal touch.
Troubleshooting
Costs and sourcing
One old wine bottle is essentially free if you save them, and a small diamond drill bit costs around £8–£15. Pendant kits range from £10 for a basic set to £40+ for fancier brass or ceramic fittings. Plant wire is inexpensive from garden centres. All told, you can make a beautiful pendant for under £30 if you reuse a bottle and buy a simple kit.
Variations to try
Every time I hang one of these lights, it feels like the room has gained a little story — recycled material, a handmade touch, and a warm glow. If you try this, I’d love to see your versions; you can share photos on the Take Root Design contact page or tag us on Instagram. Happy making — and remember to take your time with the drilling. The gentler the touch, the more beautiful the result.